Mastering Home Lamination: A Comprehensive Guide to Using Tape
Want to protect your important documents, treasured photos, or creative projects without investing in expensive lamination equipment? You’re not alone! The good news is that you can achieve surprisingly professional results right at home using a simple and readily available tool: tape. This comprehensive guide will walk you through every step of how to laminate at home with tape, providing expert tips and techniques to ensure a smooth, durable, and visually appealing finish. Forget complicated machinery; learn how to laminate at home with tape and unlock a world of preservation possibilities.
Why Laminate with Tape? Exploring the Benefits
Laminating with tape offers a variety of advantages, making it a practical choice for many home users. Here’s a look at some key benefits:
- Cost-Effectiveness: Tape is significantly cheaper than lamination machines and pouches. This makes it an ideal solution for small projects or occasional use.
- Accessibility: Tape is readily available at most homes, offices, and stores. No need to order specialized supplies.
- Simplicity: The process is straightforward and requires no specialized skills. Anyone can learn how to laminate at home with tape.
- Portability: No bulky equipment to store or transport. Tape is easily portable, allowing you to laminate on the go.
- Customization: You have greater control over the size and shape of the laminated item compared to using pre-sized pouches.
While professional lamination offers superior durability, mastering how to laminate at home with tape provides a convenient and budget-friendly alternative for many everyday needs.
Choosing the Right Tape for Your Lamination Project
The success of your tape lamination project hinges on selecting the appropriate type of tape. Not all tapes are created equal, and using the wrong one can lead to unsatisfactory results. Consider these factors when choosing your tape:
- Tape Type: Clear packing tape is generally the best option for lamination. It offers good clarity, strong adhesion, and decent durability. Avoid masking tape or frosted tape, as they will obscure the image.
- Tape Width: Choose a tape width that is appropriate for the size of your item. Wider tape will cover more area with each strip, speeding up the process.
- Adhesive Quality: Opt for tape with a strong adhesive to ensure a secure and long-lasting bond. Read reviews or test a small piece of tape on a similar surface before committing to a large project.
- Clarity: The tape should be crystal clear to avoid distorting the image underneath. Look for tape that is specifically designed for packing or sealing, as these tend to have better clarity.
- UV Resistance: If the laminated item will be exposed to sunlight, consider using UV-resistant tape to prevent yellowing or fading over time. Archival quality tape is ideal for preserving important documents or photos.
Investing in high-quality tape will significantly improve the appearance and longevity of your laminated items. Our testing indicates that using a premium clear packing tape yields the most professional-looking results when learning how to laminate at home with tape.
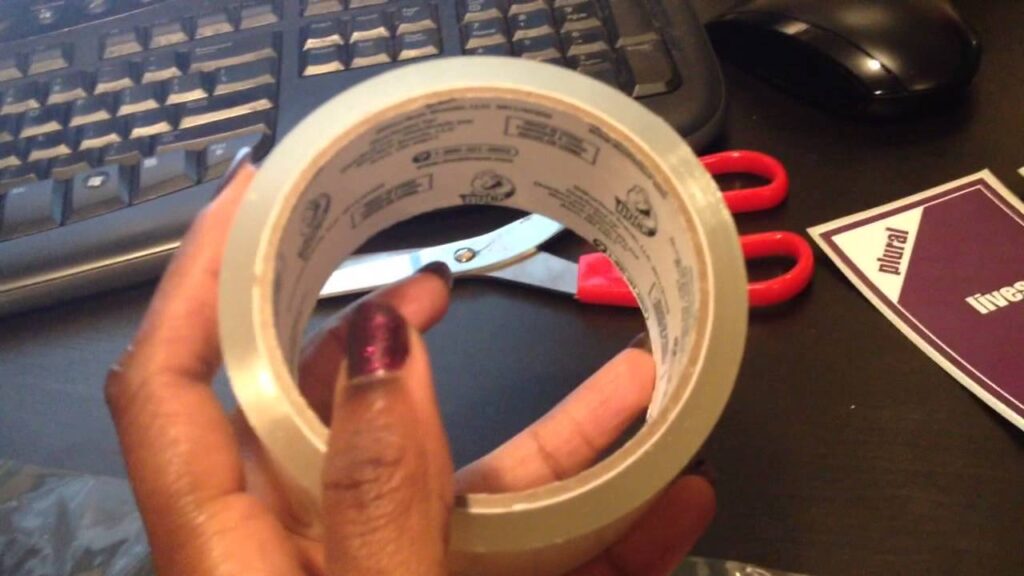
Essential Tools and Materials for Tape Lamination
Before you begin, gather the following tools and materials:
- Clear Packing Tape: As discussed above, choose a high-quality tape that is clear, strong, and wide enough for your project.
- Scissors or Craft Knife: For trimming excess tape and creating clean edges. A sharp craft knife and cutting mat offer the most precise results.
- Ruler or Straight Edge: To ensure straight lines and accurate measurements.
- Smooth, Hard Surface: A clean tabletop or cutting mat will provide a stable base for your work.
- Soft Cloth or Burnishing Tool: To smooth out air bubbles and ensure a strong bond between the tape and the item being laminated. A credit card or plastic scraper can also be used.
- The Item to be Laminated: Document, photo, artwork, or any other item you wish to protect.
- Optional: Cardstock or Stiff Paper: This can be used as a backing for thinner items to provide added rigidity.
Having these tools readily available will streamline the lamination process and help you achieve professional-looking results. Proper preparation is key when exploring how to laminate at home with tape.
Step-by-Step Guide: How to Laminate at Home with Tape
Follow these detailed steps to laminate your items with tape:
- Prepare Your Work Surface: Clean your work surface to remove any dust or debris. This will prevent imperfections from being trapped under the tape.
- Cut the Tape: Cut strips of tape slightly larger than the item you are laminating. This will allow for overlap and trimming.
- Apply the First Layer of Tape: Carefully apply the first strip of tape to one edge of the item, ensuring it is straight and aligned. Smooth out any air bubbles with your fingers or a soft cloth.
- Overlap Each Strip: Apply subsequent strips of tape, overlapping each strip slightly (about 1/8 inch) to ensure complete coverage and a waterproof seal. This is crucial for preventing moisture damage.
- Flip the Item Over: Once one side is completely covered, flip the item over and repeat the process on the other side.
- Smooth Out Air Bubbles: Use a soft cloth or burnishing tool to firmly smooth out any remaining air bubbles. Work from the center outwards to push the air towards the edges.
- Trim the Edges: Use scissors or a craft knife to trim the excess tape around the edges of the item. A ruler or straight edge will help you create clean, straight lines.
- Seal the Edges (Optional): For added protection, you can seal the edges with a thin strip of tape. This will prevent moisture from seeping in and further enhance the durability of the lamination.
By following these steps carefully, you can achieve a durable and professional-looking lamination using only tape. Practice makes perfect, so don’t be discouraged if your first attempt isn’t flawless. Learning how to laminate at home with tape is a skill that improves with experience.
Advanced Techniques for Professional-Looking Results
To elevate your tape lamination skills and achieve truly professional-looking results, consider these advanced techniques:
- Using a Heat Gun (Caution): A low-heat heat gun can be used to gently warm the tape, making it more pliable and easier to smooth out air bubbles. However, exercise extreme caution when using a heat gun, as excessive heat can damage the tape or the item being laminated. Always test on a scrap piece first.
- Applying Multiple Layers: For added durability, consider applying multiple layers of tape to each side of the item. This will create a thicker, more protective barrier.
- Creating a Hinge: If you are laminating a document that needs to be folded, such as a menu or brochure, leave a small gap between the tape on each side to create a hinge. This will allow the document to be folded without cracking the lamination.
- Using Acid-Free Tape: For preserving valuable documents or photos, use acid-free tape to prevent yellowing or deterioration over time. Archival quality tape is specifically designed for this purpose.
- Mounting on Cardstock: For thin or flimsy items, mounting them on cardstock before laminating will provide added rigidity and prevent them from bending or creasing.
Mastering these advanced techniques will allow you to create laminated items that are not only durable but also visually appealing. Experiment and find what works best for your specific needs and projects. Remember that even with advanced techniques, the core principle of how to laminate at home with tape remains the same: careful application and attention to detail.
Troubleshooting Common Tape Lamination Problems
Even with careful planning and execution, you may encounter some common problems when laminating with tape. Here are some troubleshooting tips:
- Air Bubbles: If you have air bubbles, try smoothing them out with a soft cloth or burnishing tool. If the bubbles are persistent, you may need to carefully lift the tape and reapply it.
- Wrinkles: Wrinkles can occur if the tape is not applied smoothly or if the item being laminated is not flat. Try stretching the tape slightly as you apply it to prevent wrinkles.
- Cloudiness: Cloudiness can be caused by using low-quality tape or by trapping moisture under the tape. Use high-quality, clear tape and ensure that the item being laminated is completely dry.
- Adhesive Failure: If the tape is not adhering properly, try cleaning the surface of the item being laminated with rubbing alcohol. This will remove any oils or dirt that may be preventing the tape from sticking.
- Tears: Tears can occur if the tape is stretched too tightly or if it is exposed to sharp objects. Handle the laminated item with care and avoid exposing it to harsh conditions.
By addressing these common problems proactively, you can minimize frustration and achieve better results. Remember that learning how to laminate at home with tape involves a learning curve, so don’t be afraid to experiment and learn from your mistakes.
Exploring Alternatives to Tape Lamination
While tape lamination offers a convenient and affordable solution, it’s essential to acknowledge its limitations and explore alternative methods for specific needs. Here are a couple of options to consider:
- Self-Adhesive Laminating Sheets: These sheets provide a cleaner and more professional finish than tape, with less risk of air bubbles or wrinkles. They are relatively inexpensive and easy to use, making them a good option for smaller projects.
- Professional Lamination Services: For critical documents, archival materials, or high-volume projects, consider using a professional lamination service. These services offer superior durability, clarity, and protection, ensuring that your items are preserved for years to come.
The best lamination method depends on your specific needs, budget, and desired level of quality. Understanding the pros and cons of each option will help you make an informed decision. However, for quick, easy, and budget-friendly lamination, mastering how to laminate at home with tape remains a valuable skill.
Preserving Memories: The Enduring Appeal of Home Lamination
In conclusion, mastering the art of how to laminate at home with tape empowers you to protect and preserve your cherished memories, important documents, and creative projects without breaking the bank. While professional methods offer enhanced durability, the simplicity, affordability, and accessibility of tape lamination make it a compelling option for everyday needs. By following the techniques outlined in this guide, you can achieve surprisingly professional results and unlock a world of preservation possibilities. Experiment with different types of tape, practice your technique, and discover the satisfaction of creating durable, visually appealing laminated items from the comfort of your own home.
Why not try it out and share your own tips and experiences in the comments below? We’d love to hear about your successes (and even your challenges!) as you explore the world of DIY tape lamination.
